Why Illuminated Manuscripts?
Before the days of printing presses and mass-produced, full-color books—before the e-reader was even imagined—books were written, decorated and painted by hand, one page at a time, often by monks quietly working for hours upon hours in their monasteries.They wrote on parchment (a stiff, flat, thin material made from animal skin that was used in ancient and medieval times as a durable writing surface) and included beautifully decorated letters, borders, and important scenes, making each book a one-of-a-kind piece of ancient art.
These decorations often included radiant colors accented with gold and silver, creating a glowing, “illuminating” effect that gave these special books their name: illuminated manuscripts.
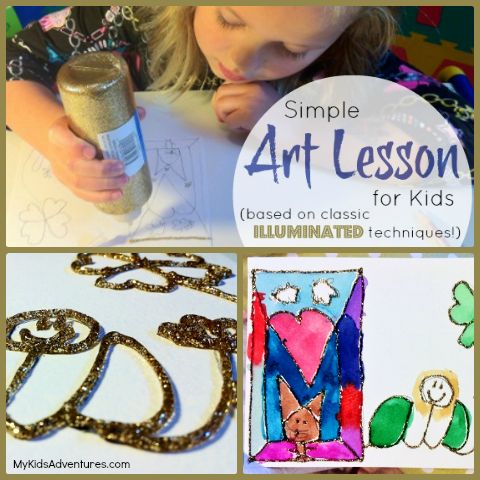
You and your kids probably don’t have the time (or the quietness) to copy entire books as the monks did, but I’ll show you a simple way to recreate the colorful, glowing, illustrated letters that fill the pages of old.
First, a bit of Art History:
Prior to universities, monasteries were a commonplace of education. The monks created most books to record and share religious stories.
The room in the medieval European monastery used for creating illuminated manuscripts was called the scriptorium; it literally means “a place for writing.”
A simple way to explain illuminated manuscripts is to define the words:
- Illuminated (derived from the Latin word illuminare, which means “to light up”)
- Manuscript (derived from the Latin word manus, which means “hand;” and the Latin word scriptus, a form of scriber, which means “to write”)
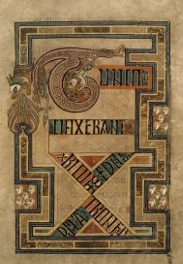
The Book of Kells is one of the best-preserved examples of illuminated manuscripts that exist today. It is permanently displayed at the Trinity College Library in Dublin, Ireland, and is Ireland’s most treasured artifact.
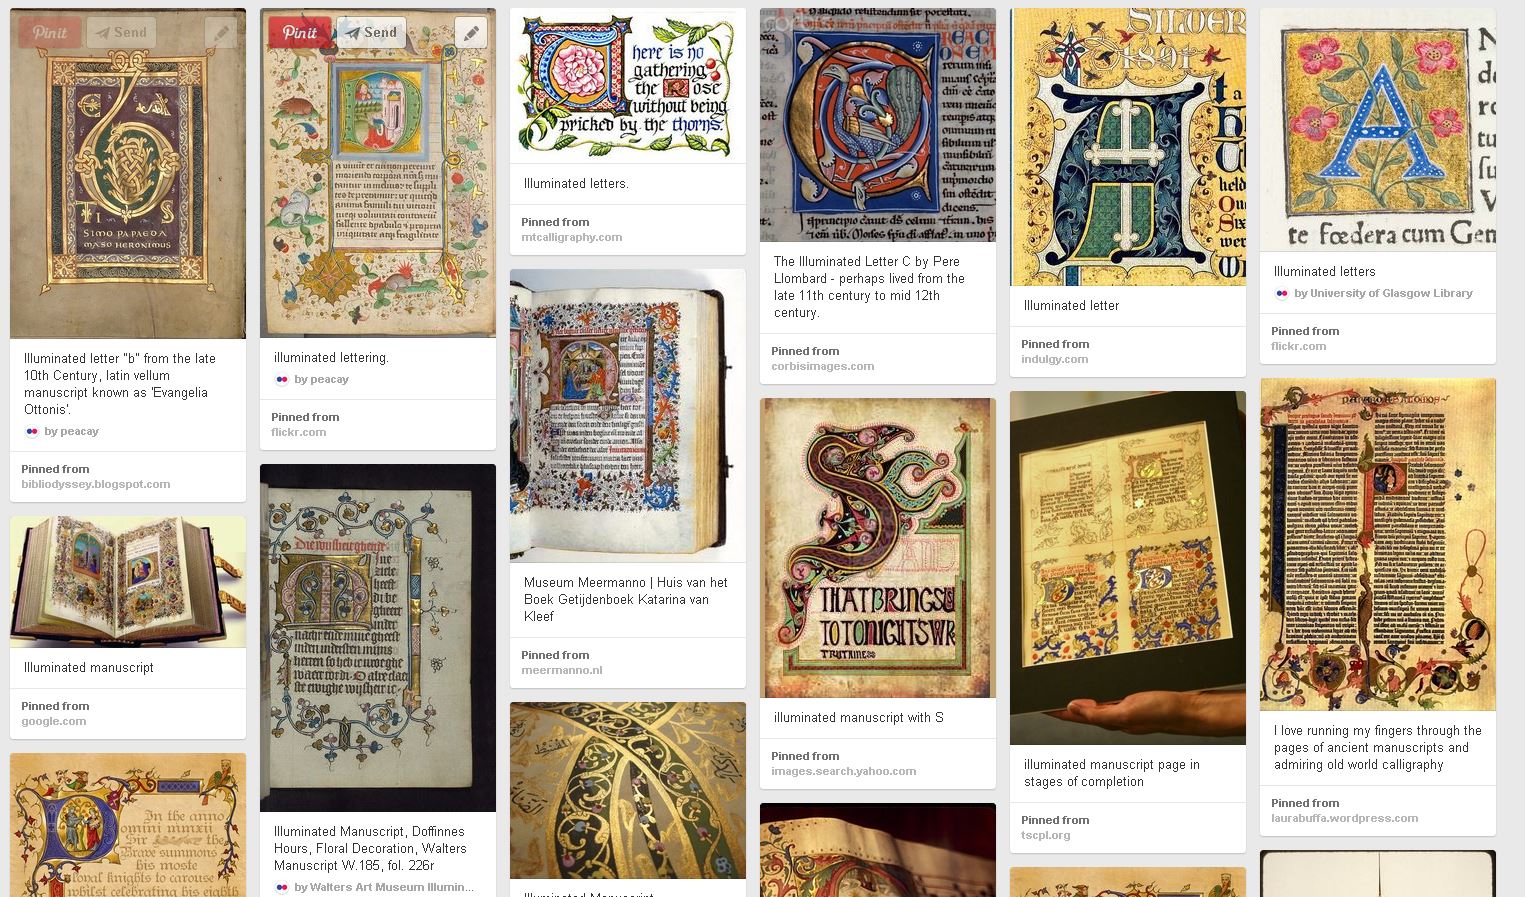
I’ve created a special Pinterest board of illuminated manuscripts for you to share with your kids. Observe the variety of colors and styles and think about what you’d like to create.
Now that we’ve introduced your kids to the history of illuminated manuscripts, and shown them some examples, it’s time for them to make their own.
You Will Need
- Paper (we used small precut watercolor sheets)
- Pencils
- Gold glitter glue
- Watercolors and brushes (other paints/markers/crayons will work too)
- Paper towels for cleanup
Preparation Time
5 minutes to gather supplies
Activity Time
Two 30-minute creative sessions, allowing the glue to dry overnight in between
Location
Any table or counter that allows enough room to draw and paint
We chose to “illuminate” one word—our names! You can choose whatever word you’d like.
#1: Gather Your Supplies
Collect everything you need for this project, so you have all supplies at hand. We used watercolor paper and paint. This project could also be done with construction paper and crayons or canvas and paint.
You can easily adapt this project to the supplies you have on hand if you don’t have watercolor supplies available. You simply need to be able to draw your manuscript, add some illumination, and then add color.
The key ingredient for illumination is the gold glitter glue. You’ll see how much fun that is in just a little bit!
#2: Design Your Illuminated Manuscript
You can choose any word or phrase you would like for your project. You can apply what you learn later to more elaborate stories or poems.
We chose our names for our simple manuscripts.
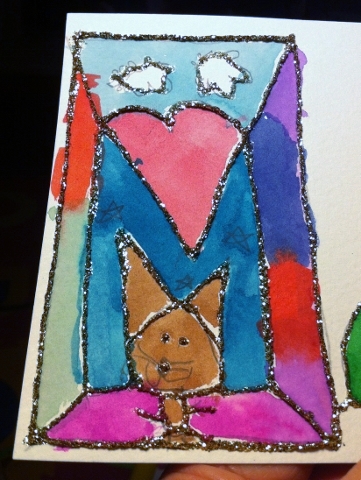
Don’t forget to give that first letter some extra decoration and detail!
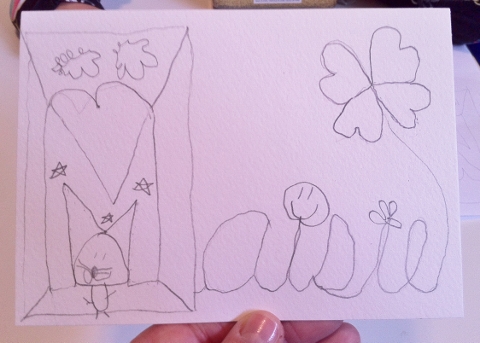
Use your pencil to design your manuscript. One thing you’ll notice in most illuminated manuscripts is the first letter is often the most decorated and painted. Frame the first letter of your word and create unique and personal designs.
Write the rest of your word in whatever style you like.
Include a personal touch by adding elements to your design that are important to you or represent things you like.
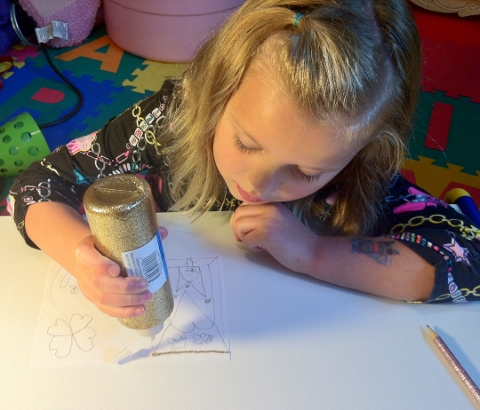
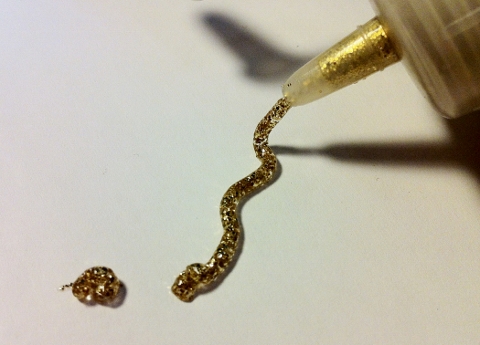
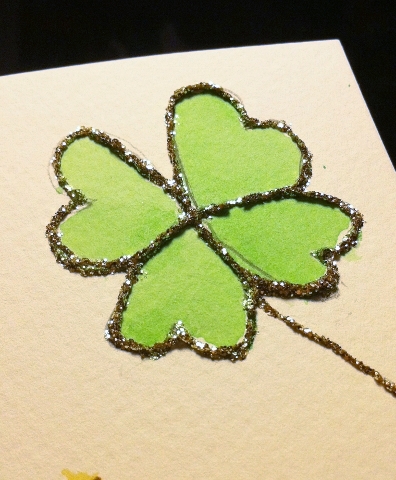
Now it’s time to “illuminate” your manuscript and apply the gold glitter glue to your design. The easiest way to apply the glue is to use easy pressure and create a consistent stream of glue. Use the stream of glue to trace over your design.
This may be a bit tricky for little ones. Get them started and help them along as necessary. Sometimes kids can push a little too hard or not hard enough to get the glue to flow smoothly and evenly.
Set your design aside and allow it to dry completely, preferably overnight.
Or you can watch a movie about a magical illuminated manuscript, inspired by the Book of Kells while you wait for the glue to dry.
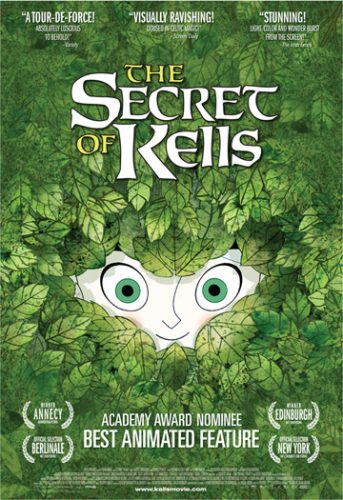
Movie: The Secret of Kells
This Academy Award–nominated animated film for kids could be a fun addition to your illuminated manuscript project.
Young Brendan lives in a remote medieval outpost under siege from barbarian raids. But a new life of adventure beckons when a celebrated master illuminator arrives from foreign lands carrying an ancient but unfinished book, brimming with secret wisdom and powers. To help complete the magical book, Brendan has to overcome his deepest fears on a dangerous quest that takes him into the enchanted forest where mythical creatures hide. It is here that he meets the fairy Aisling, a mysterious young wolf-girl, who helps him along the way. But with the barbarians closing in, will Brendan’s determination and artistic vision illuminate the darkness and show that enlightenment is the best fortification against evil?
(This film is rated PG, Parental Guidance is suggested. Netflix has rated it as OK for kids age 9+).
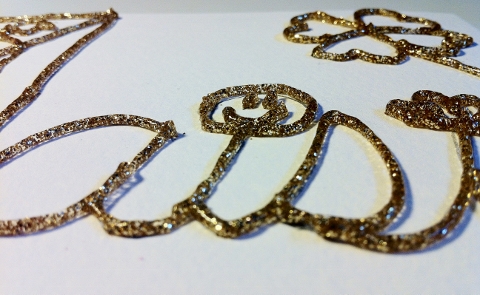
You’ll see that once the glue dries, it hardens and becomes less puffy. The glue makes the edges of your artwork raised, so you can easily fill in your shapes with color in the next step.
Note: You can switch this step with the next one if you’d like. Add your gold glitter glue after you’ve painted your manuscript. I found that using the glue first made it a bit easier for a child to simply fill in the small shapes with the paint since the glue creates a raised edge that acts as an outlined barrier.
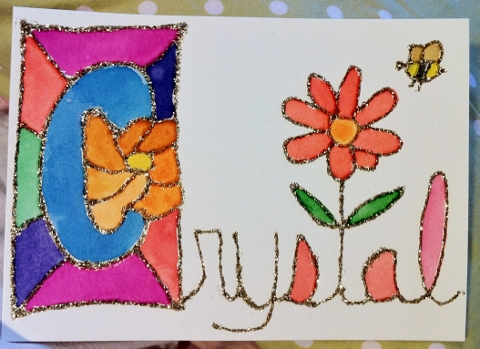
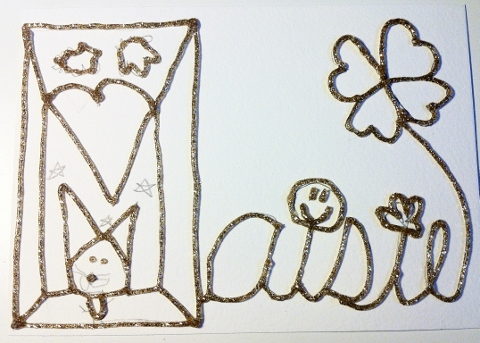
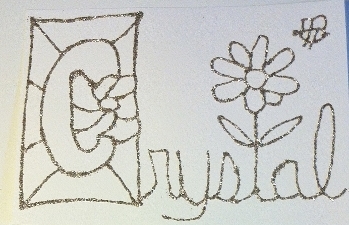
See the difference between the dry and wet glue below. My name to the right is already dry and Maisie’s name on the left is still wet.
Notice the wet glue on the left is still puffy and thick and the dry glue on the right is not as puffy and the lines are smaller.
Once your design is completely dry, it’s time to color it!
#4: Paint Your Manuscript
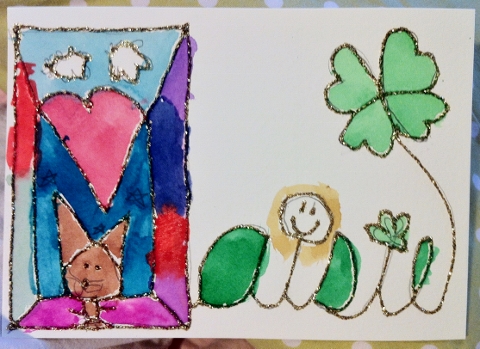
Bring your manuscript to life by filling in the spaces of your design with color. As I previously mentioned, we used watercolors for ours.
Carefully apply your color to the empty spaces of your design.
You can paint your background or simply leave it the color of your paper. Leaving the background white helps your colors appear more vibrant.
Choose nice vibrant colors to fill in your shapes.
If you happen to get too much color on the gold edges of your design, allow the paint to dry and add another layer of gold glitter glue.
Choosing nice bright colors will help make your design stand out.
You can never have too much sparkle!
#5: Preserve Your Manuscript
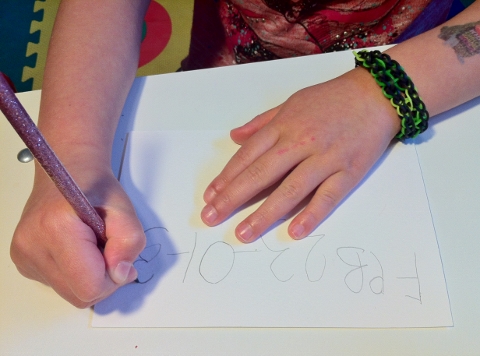
Illuminated manuscripts are delicate pieces of art. You can write a note or put the date on the back of your artwork to record the day you created it. You could also write a personal note on the back if your artwork is a gift for another person.
Add the date or a personal note on the back of your artwork to remember when you created it.
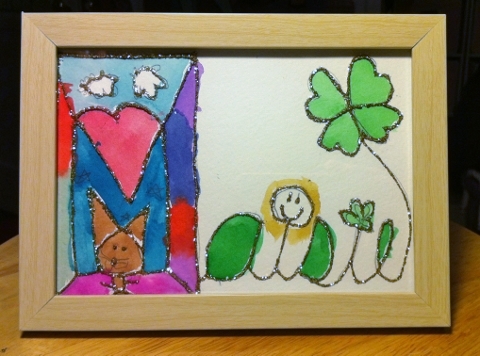
A small frame is a great way to preserve and display your hand-painted illuminated manuscript.
I promise it will be sparklier in person than in this photo. Feel free to add as much gold glitter glue as you’d like to your manuscript. The more illumination the better!
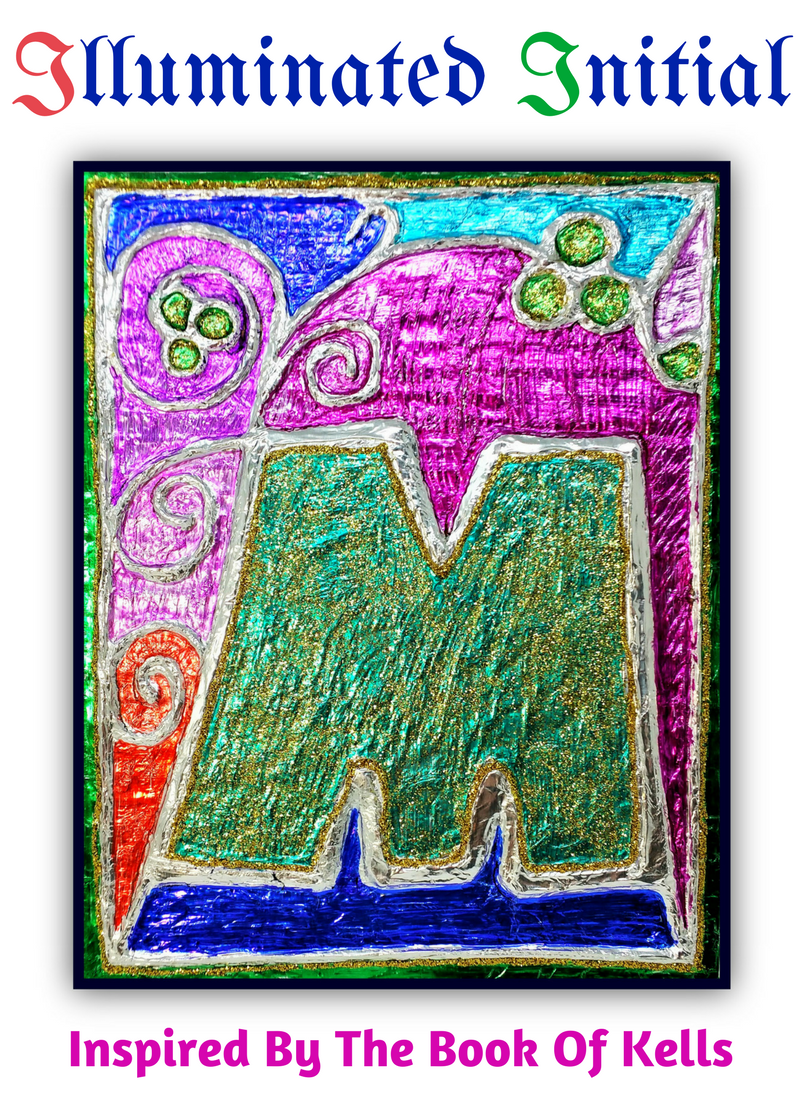
For another great Illuminated Manuscript project, see my Illuminated Initial Art Project for Kids on Woo! Jr.




Cute project!
Hi! Thank you for the comment!