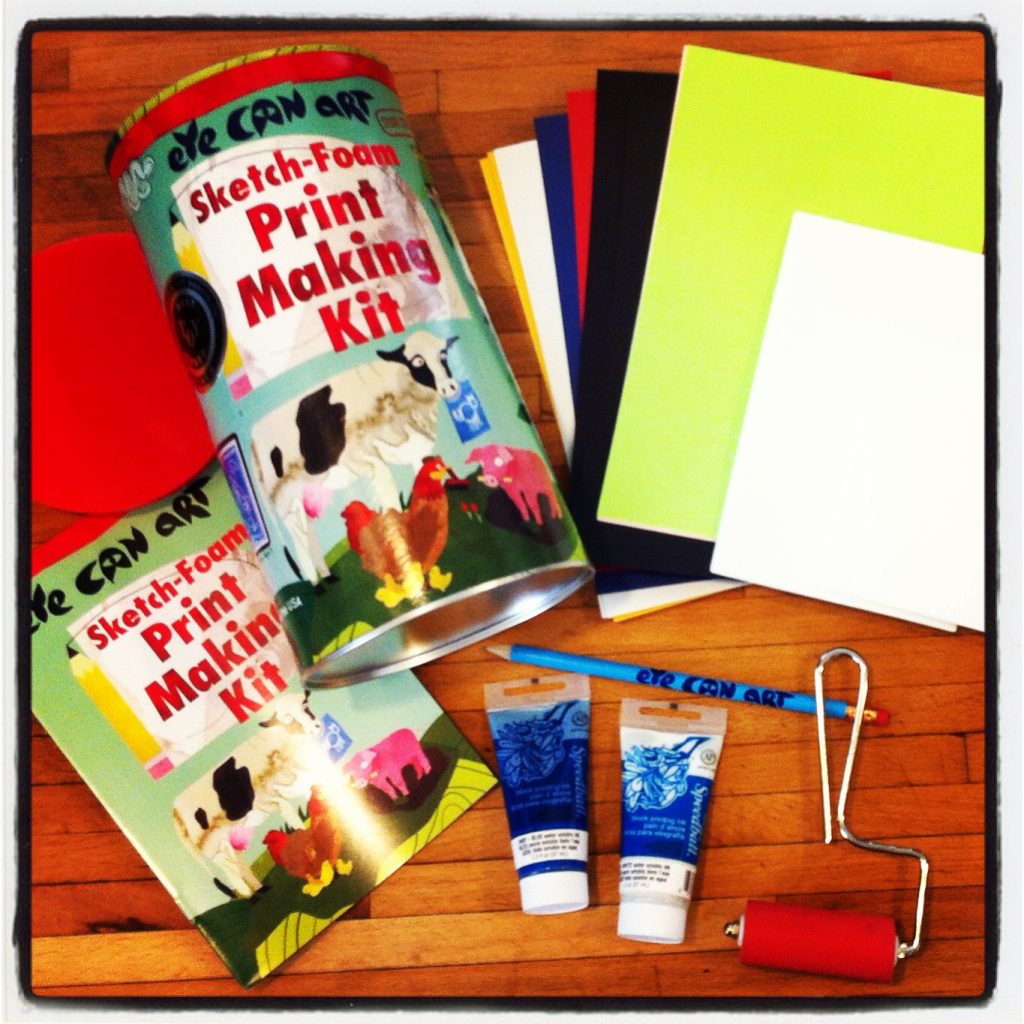
Eye Can Art Sketch-Foam Printmaking Kit
My little princess and I had the fun of creating some new art this week. Most of our art projects include drawing and painting, as you know that’s where mommy’s interests tend to lead us ;). We were given the great opportunity this week to try something new: PRINTMAKING! I was so excited to break open this new art kit for kids!
Our kit included all the supplies you see. The best part is no art supply shopping! You have a complete kit and easy to follow instructions for you and your little one to have some creative fun!
Eye Can Art was created by Bridget Daly and Shannon Ninburg, two moms who responded to the clear need for at‐home guided art activities, combined with an understanding of everyone’s busy schedule.
The Eye Can Art concept: high-quality, no-sweat, everything-included art kits that spark open-ended artistic exploration.
Eye Can Art has been gracious enough to give a new kit to one lucky reader! To enter the giveaway: Please leave a comment below in the comments section or send me this tweet on Twitter:
We love @eyecanart and @MaisiesMommy #WinAKit
Contest has ended – thank you to everyone that entered!
Once we followed the directions and created a few different prints, I gave Maisie a chance to explain how to use this kit on video. She loves to perform, so I asked her if she’d like to help me make a little “commercial” for this art kit while I asked her some questions.
(One thing to mention is that she talks about using “paint” but we’re actually using printmaking ink. There is a difference so you need to make sure to use the proper materials for the best results.)
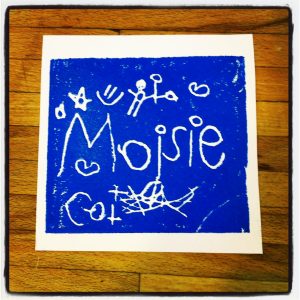
One of her favorite prints to create was her name. Since words in printmaking need to be written backwards, it was tricky – but she did her best. I think it’s adorable.
If you notice below her name she wrote “cat” next to some ambiguous lines. I asked her what they were and she said – in her own words – no joke – “an ABSTRACT design”. LOVE HER!
Seeing the potential of this art project, my mind started racing with ideas. First – I’ll never look at Styrofoam plates the same again – the unseen potential of sketch-foam printing!
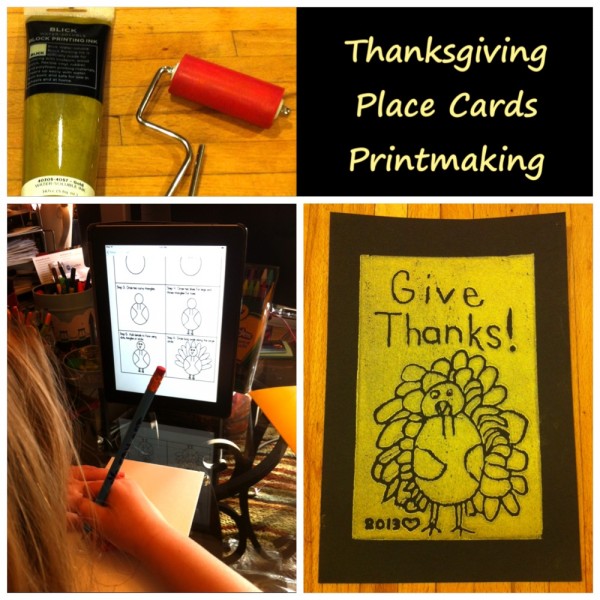
We’re planning to host Thanksgiving dinner at our house this year, so I thought about how to incorporate this idea into our table setting – place cards! Imagine a beautifully printed personalized place card for each person. Maisie and I started planning our design. We settled on a simple turkey drawing with the words “Give Thanks!” – more fun writing backwards ;).
I took the Eye Can Art Sketch-Foam Printmaking Kit to the next level and purchased gold printmaking ink! Maisie be writing a personal note on the back for each person so they’ll have a little thank you piece of art to take home with them.
The steps for printmaking are very easy to follow:
-
Create your drawing on the included foam sheet (make sure to press hard to make deep grooves for the drawing – but not poke through the foam).
-
Squeeze out some printmaking ink on a smooth flat surface.
-
Roll the brayer in the ink to coat the surface well.
-
Gently roll the ink on the foam sheet making sure to spread it evenly. I found it best to roll one direction and then the opposite direction to make sure the surface was covered completely.
-
Place a piece of paper on top of the freshly inked foam sheet and rub the back of the paper to transfer the ink from the foam sheet to the paper.
-
Gently peel the paper from the foam sheet and set aside to dry.
-
Voila – your print is done!
-
Clean up is very easy with water. I also rinsed off the foam sheet to save for next time.
Find some time to be creative with your kids today – you’ll never regret it and besides – you’ll make some cool art! 🙂

Great share!!!!
Thanks for the comment Mari!
What a great blog! Thanks for sharing!
Thanks Michelle! It’s just in the baby stages, but I thought it would be a great journal of our little creative adventures. 😉
I love @eyecanart like a fat kid loves cake!
Thanks for the entry and comment Jared – you rock! cake rocks too 😉
Thanks to everyone that entered the contest – I’m picking the winner now using Random.org to generate the winning entry. The winner will be contacted via email/private message.