Have you ever wanted to capture a photo on canvas?
Would you like to make your own that is original and unique?
Let me show you how…
Most recommendations are that you use color laser copies – well who has one of those at home? Not me… so inkjet it is! I knew the results would vary, but I was interested to see what the results would be. So I went for it!
The results were pretty cool!
The image was not as crisp or clean as it may have been with a laser copy, but that’s not what I was looking for. I intended to get a transfer that was more vintage or aged looking (you know “artsy”).
The results were exactly what I was looking for on the canvas transfer.

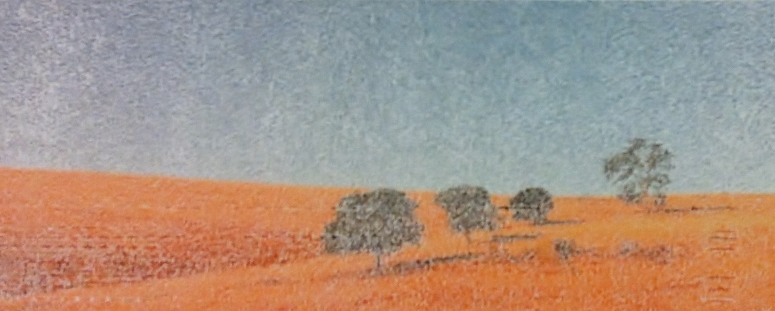
This is one of my favorite photos, so I wanted to capture it on a canvas! I used this photo for the project you see below.
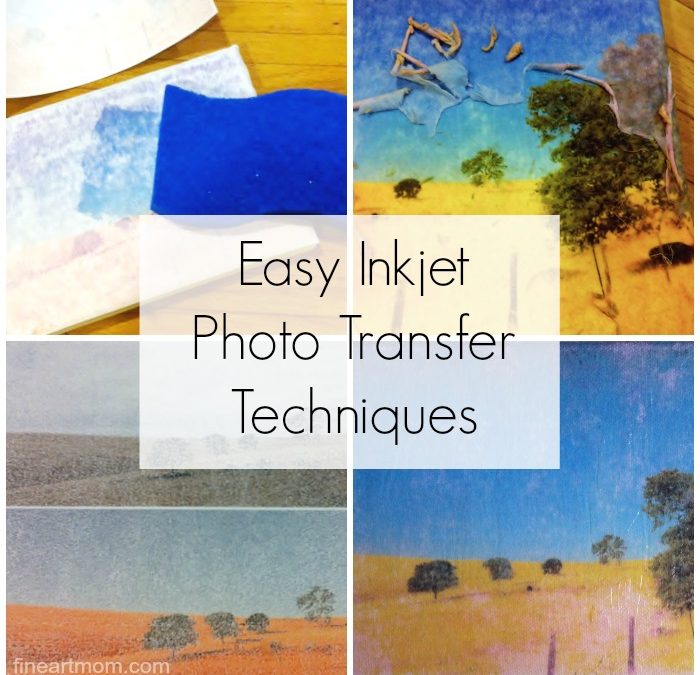
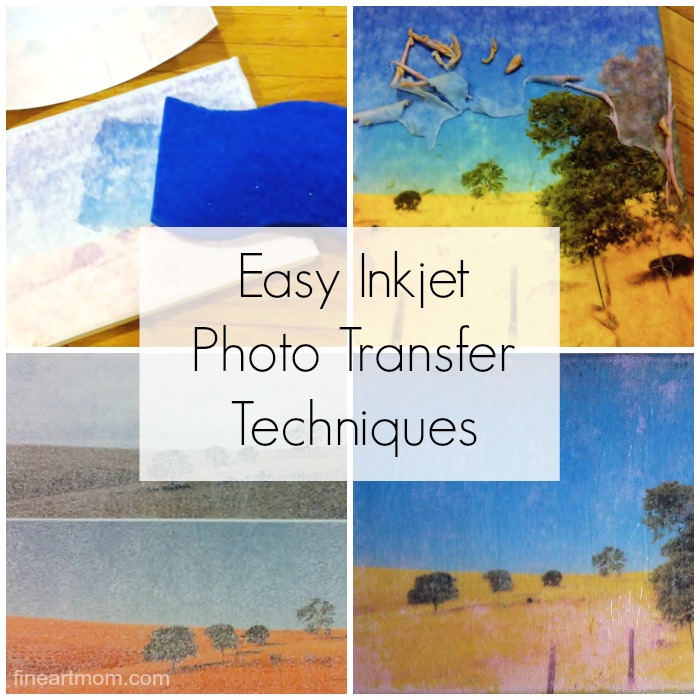
3 Inkjet Photo Transfer Techniques I Tried:
- Photo Transfer to Canvas
- Photo Transfer to Watercolor Paper
- Transparency Photo Transfer to Paper
Supplies Needed:
- Canvas
- Watercolor Paper
- Drawing Paper (or any quality art paper)
- Gel Medium
- Paint Brush
- Sponge
- Transparency Paper for Photocopier (NOT INKJET)
Shopping List:
The links above are affiliate links. There is no additional cost to you and I appreciate your referral. Thank you.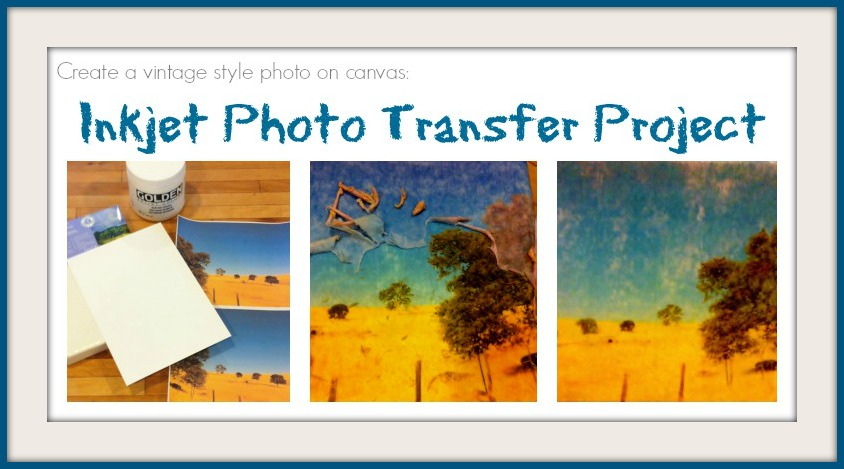
Gel Medium Transfers to Canvas and Watercolor Paper


Gather your supplies and print the photos you would like to transfer in the size needed for your canvas or paper.
Be sure to print the mirror image of the photo so that you see the correct image when transferred.
Trim the photos to be the same size as the canvas or sheet of watercolor paper.
Brush a think coat of medium on the transfer surface. Make sure to completely cover the surface.


Carefully lay the print of the image with the ink side down into the wet get medium and gently smooth into place. Do your best to minimize air bubbles or wrinkles in the paper.
Remove any gel medium that seeps out from the sides.
The watercolor paper may buckle, that’s OK. Just make sure the print is completely adhered to the paper.
Set your canvas or paper aside and allow to dry for 24 hours.


Next take a damp sponge and moisten the paper thoroughly. As the paper gets wet, you’ll see the image appear under the paper.
Gently start rubbing off the paper. Some of the ink will come off with the paper, that’s OK.
DO NOT RUB TOO HARD. If you rub too much you will remove the ink or gel medium from the surface. Be careful!
It’s OK if there is small amount of paper fibers left attached to the gel medium.
Allow them to dry. If you see any extremely cloudy spots once they dry, you may have left on a bit too much paper.


These were the final results. I was not happy with the watercolor paper transfer, so I scrapped it. There were areas where the gel medium did not cover the paper well enough and I think I rubbed too hard when removing the paper and removed too much of the ink as well.
I LOVED the canvas transfer.
I applied a coat of Mod Podge to give the canvas a nice glossy surface and seal the transfer.
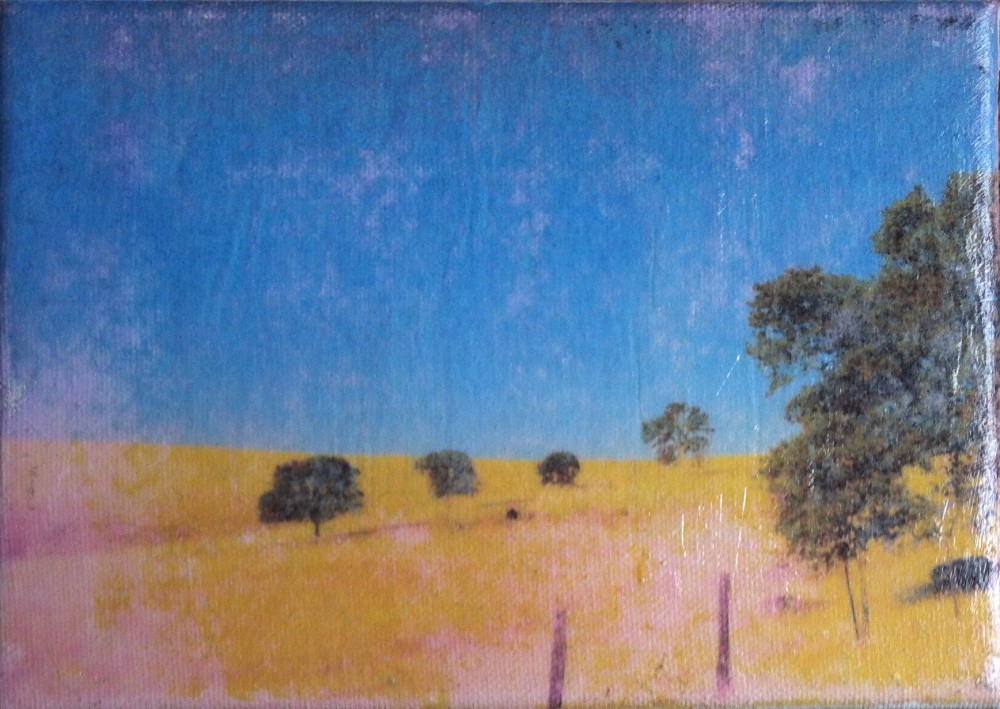
I really liked the vintage quality of the image. It’s not a perfect transfer, but it’s not meant to be. Each transfer will have it’s own character and will be unique.
Even if you transferred the same photo multiple times, you would have variety. That’s fun in making art right?
Inkjet Transparency Transfer to Paper
I used this technique in my Monet Photo Transfer Project. To see the full step-by-step instructions for the inkjet transparency photo transfer, click here.
I transferred the image you see above using this technique to create this print.
The finished transfer is more like an impression of the photo on paper. It’s a really great technique to use if you’d like to create a print that has a more painterly quality.
I had so much fun with these transfers. I hope you give this project a try.
Please feel free to let me know if you have any questions in the comments.
As Maisie would say… Be Creative!
This post contains affiliate links. There is no additional cost to you and I appreciate your referral. Thank you.